I've been making breakfast pastries for church stuff and weekend brunches for 19 years now, and I can tell you that a good cheese danish doesn't need fancy tricks or weird ingredients you can't find. This isn't one of those recipes that takes forever or makes your kitchen look like a bomb went off. I've made this recipe about 70 times, changing little things here and there until we got something that's flaky, creamy, and makes people think you bought it from some expensive bakery.

Why You'll Love This Cheese Danish Recipe
Making this danish for tons of bake sales and watching Emma's friends actually get excited about eating breakfast has shown me exactly what makes this recipe work. It's rich without making you feel sick, sweet without being like candy, and you can actually taste the cheese instead of just sugar. Emma has helped me make this so many times that he knows when the filling is ready just by looking at how it sits on the dough.
Whether you're making it for regular weekend breakfast or taking it to one of those places where you want people to remember what you brought, this cheese danish always gets people talking. The best part? Even kids who say they don't like cream cheese end up wanting seconds. Easy Cheese Danish Recipe: Homemade Bakery Style
Jump to:
- Why You'll Love This Cheese Danish Recipe
- Ingredients For Cheese Danish Recipe
- How To Make Cheese Danish Recipe Step By Step
- Cheese Danish Recipe Variations
- Substitutions
- Storage Tips
- Equipment For Cheese Danish Recipe
- The Recipe That Got Passed Down From My Aunt's Kitchen
- Top Tip
- Why This Recipe Works
- FAQ
- Time to Make Some Really Good Cheese Danish!
- Related
- Pairing
- Cheese Danishe
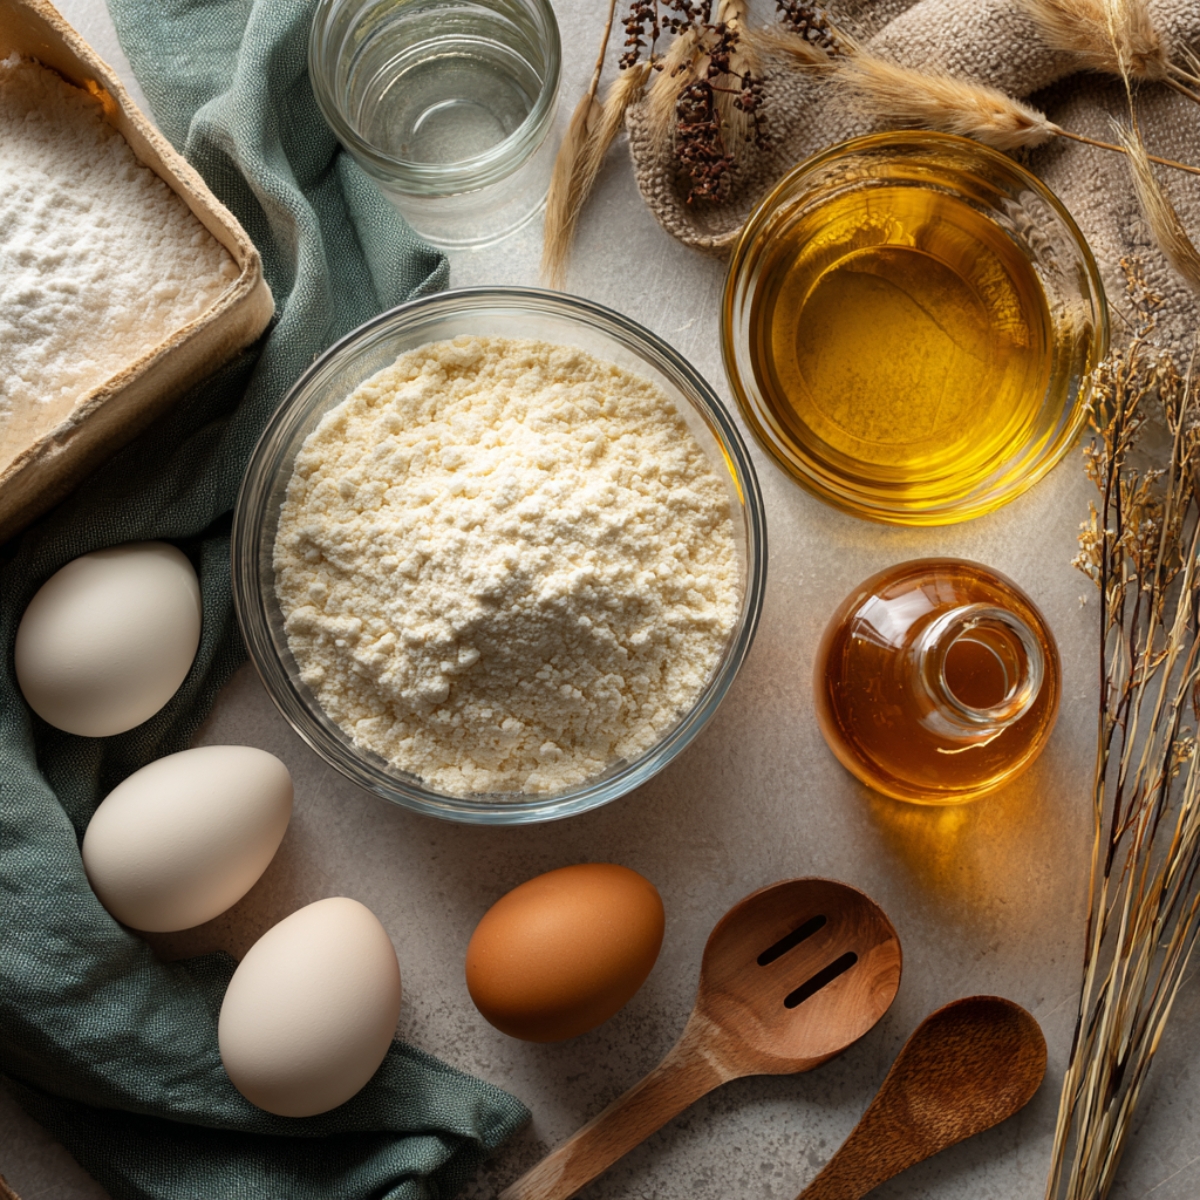
Ingredients For Cheese Danish Recipe
For the Pastry:
- Puff pastry sheets
- Butter
- Egg for brushing
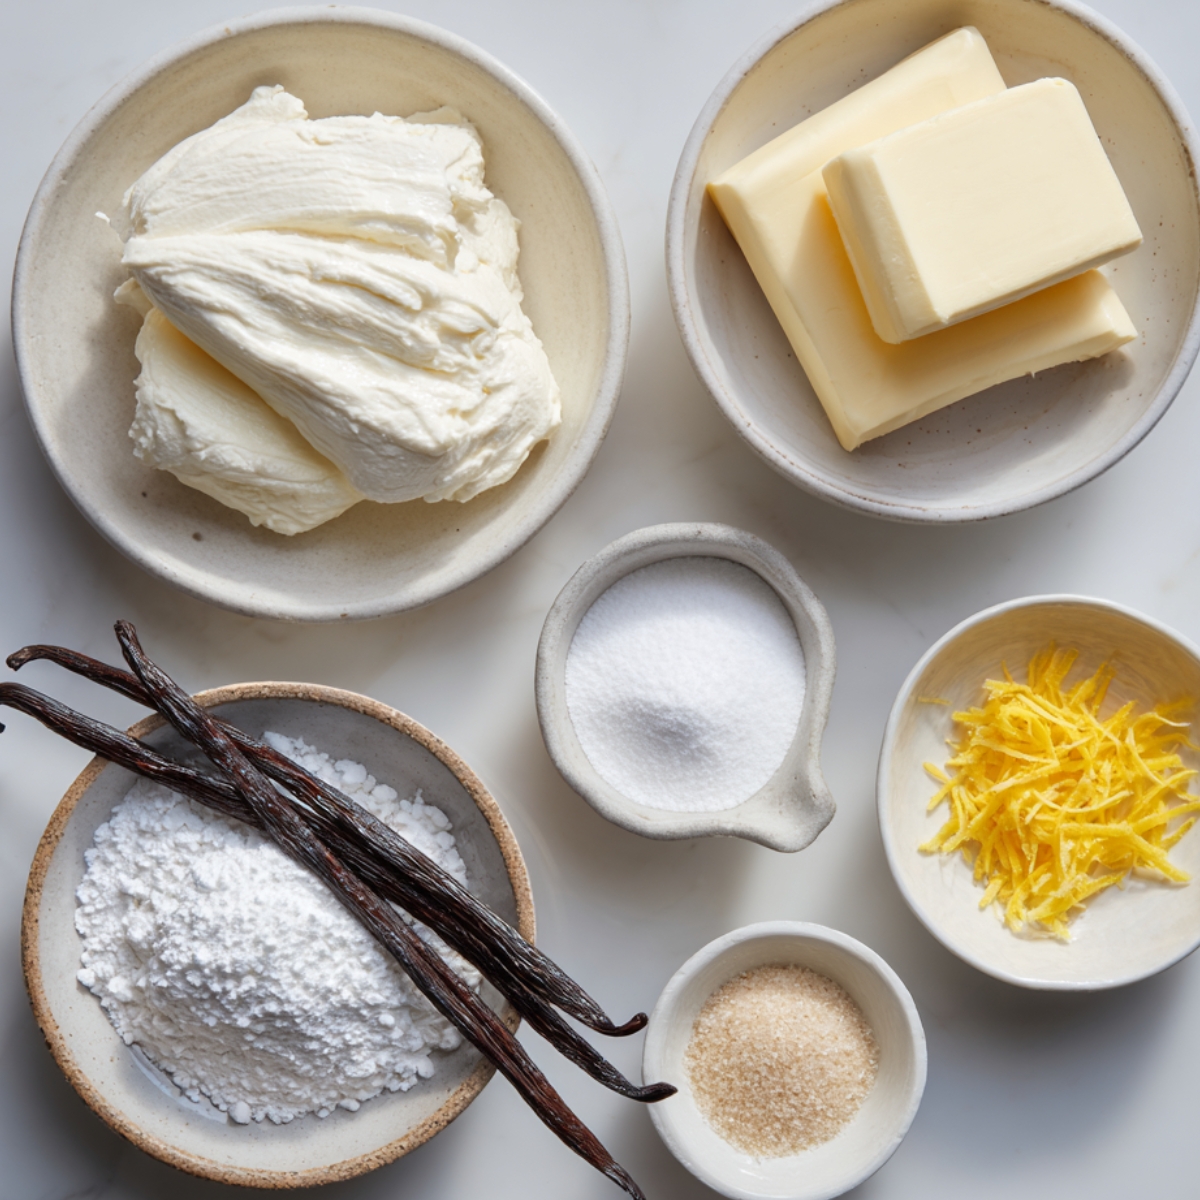
For the Filling:
- Cream cheese
- Sugar
- Vanilla
- Egg yolk
- Lemon juice
- Salt
For the Top:
- Powdered sugar
- Milk
- More vanilla
See recipe card for quantities.
How To Make Cheese Danish Recipe Step By Step
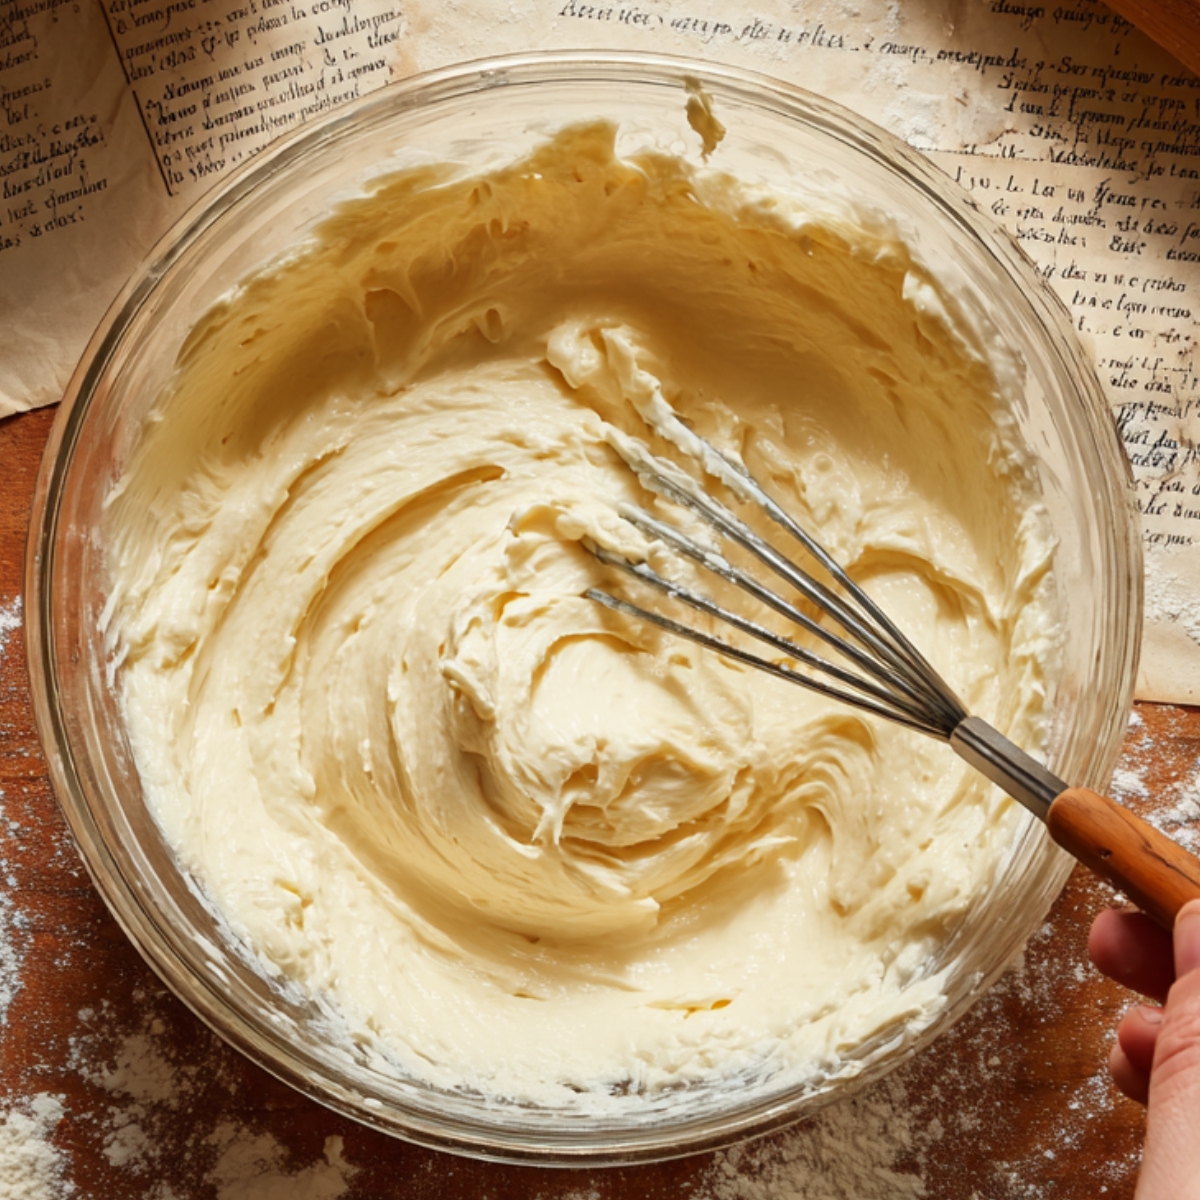
Get Your Filling Ready:
- Mix cream cheese until it's smooth
- Add sugar, vanilla, egg yolk, and lemon juice
- Beat it until there's no lumps
- Taste it - should be sweet but tangy
Prep the Pastry:
- Thaw puff pastry if it's frozen
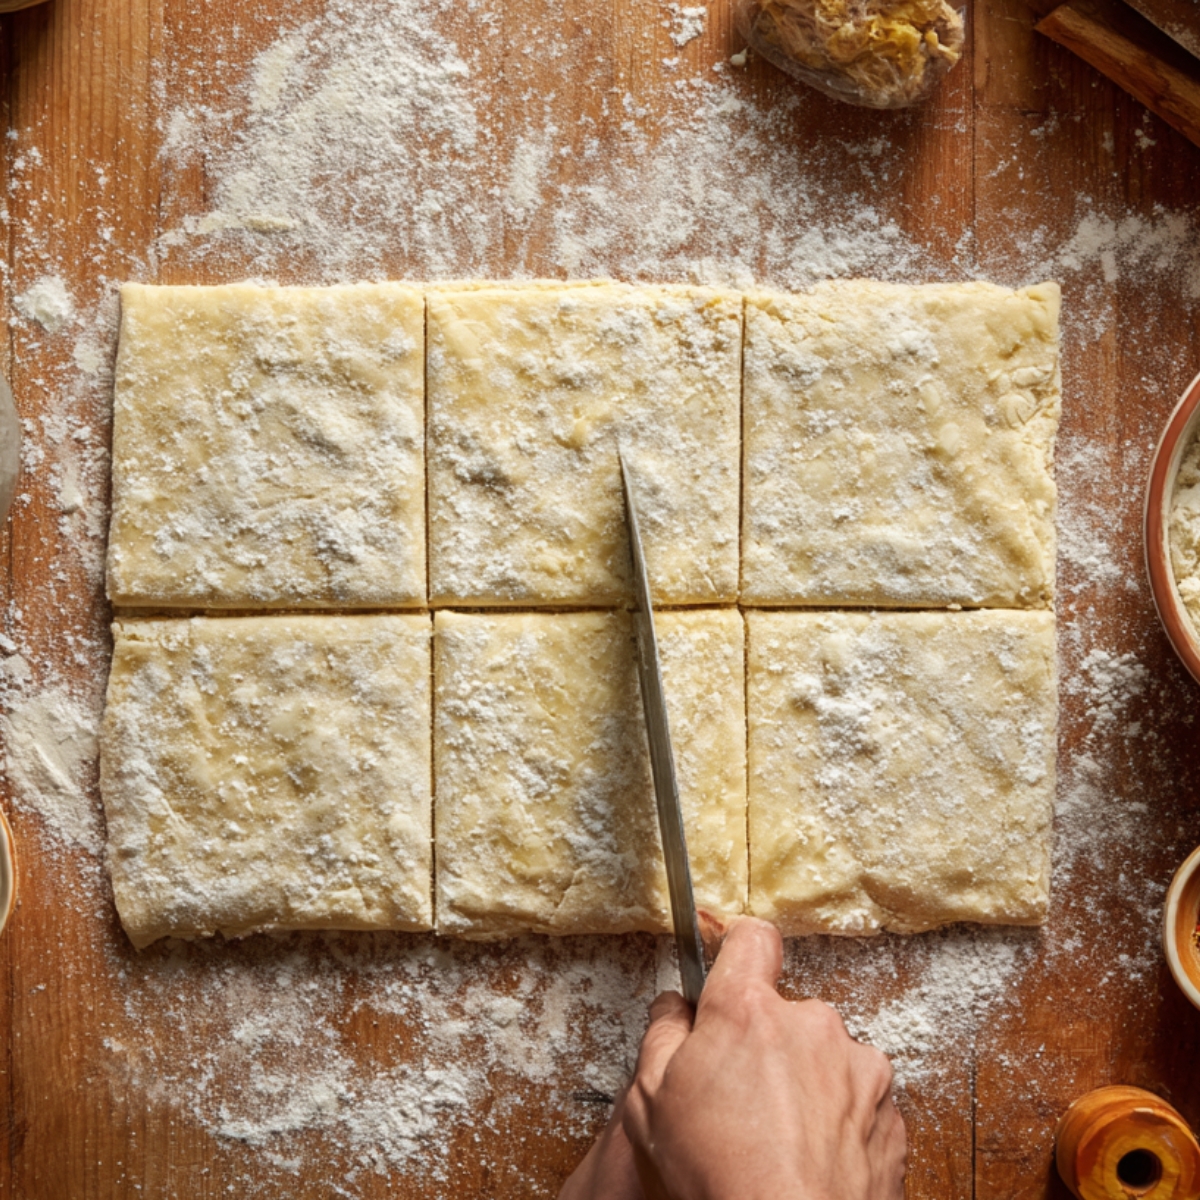
- Roll it out on a floured surface
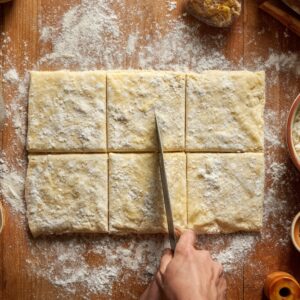
- Cut into squares or rectangles
- Don't make them too big or the filling will leak out
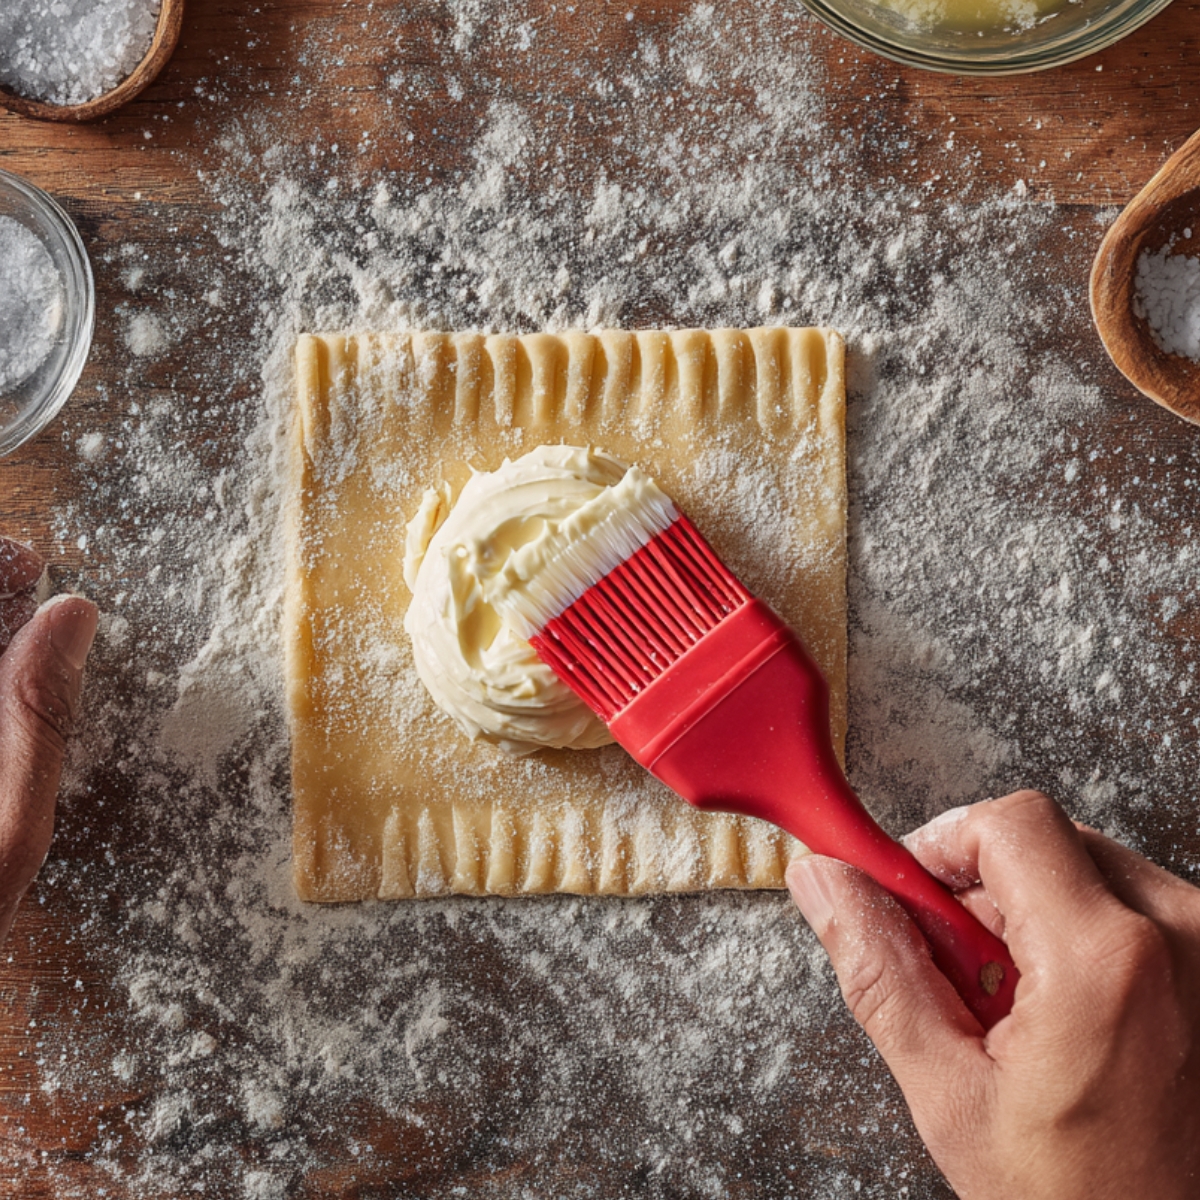
Put It Together:
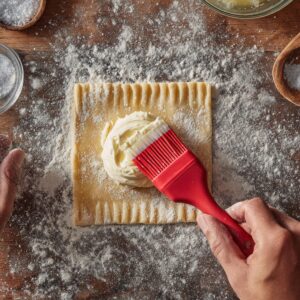
- Put a spoonful of filling in the center of each piece
- Fold the corners over or leave it open - whatever you like
- Brush with beaten egg so it gets golden
- Let them sit for about 15 minutes
Bake Them:
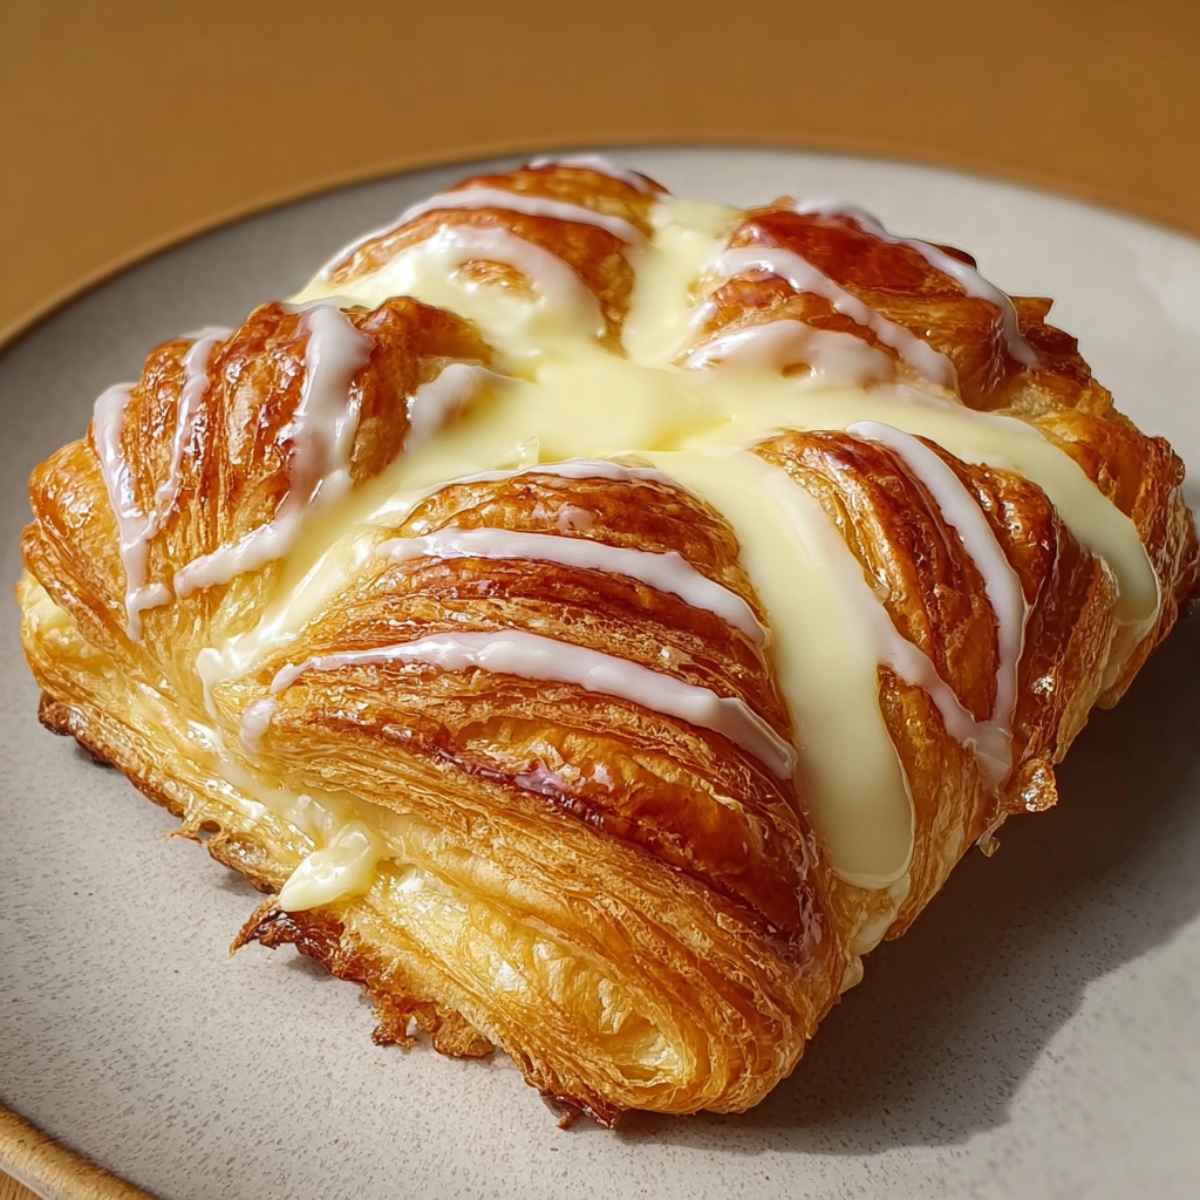
- Let them cool a bit before adding the glaze
- 375°F for about 15-20 minutes
- Look for golden brown color
- Don't open the oven door too much or they'll go flat
Cheese Danish Recipe Variations
Berry Good:
- Add fresh blueberries to the filling
- Strawberry jam on top
- Mixed berries scattered around
- Emma's favorite for summer
Chocolate Crazy:
- Mini chocolate chips in the filling
- Drizzle chocolate on top
- Cocoa powder mixed in
- Always goes first
Apple Cinnamon:
- Diced apples in the filling
- Cinnamon in the cheese mixture
- Apple pie spice on top
- Tastes like fall
Lemon Explosion:
- Extra lemon juice and zest
- Lemon glaze instead of vanilla
- Yellow food coloring if you want
- Really tangy and good
Substitutions
Pastry Options:
- Puff pastry → Crescent roll dough
- Frozen → Store pie crust
- Store-bought → Biscuit dough
- Regular → Phyllo sheets
Filling Changes:
- Cream cheese → Mascarpone cheese
- Regular → Greek yogurt (thick kind)
- Plain → Ricotta cheese
- Standard → Cottage cheese (blend it smooth)
Sweet Stuff:
- White sugar → Brown sugar
- Regular → Honey (use less)
- Normal → Maple syrup
- Standard → Powdered sugar
Other Swaps:
- Lemon juice → Orange juice
- Vanilla → Almond extract
- Egg yolk → Whole egg
- Fresh → Bottled lemon juice
Storage Tips
On the Counter (2 days):
- Let them cool down all the way first
- Put them in a container with a lid
- Don't stack them or they'll stick together
- Keep them away from heat and sun
In the Fridge (4-5 days):
- Cover them with plastic wrap
- Put them in the fridge if it's really hot outside
- Warm them up in the oven before eating
- They taste better warm anyway
Freezing (Not Worth It):
- You can freeze them but they get soggy when you thaw them
- The pastry gets all limp
- If you have to freeze them, wrap them really well
- Better to just make them fresh
Equipment For Cheese Danish Recipe
- Baking sheet
- Mixing bowl
- Small brush for egg wash
- Sharp knife
The Recipe That Got Passed Down From My Aunt's Kitchen
My aunt had this little bakery in her small town back in the 1980s, and she made the best cheese danish anyone had ever eaten. People would drive from two towns over just to get hers on Saturday mornings. When she closed up shop, she gave me her recipe, but there was this one thing she did that wasn't written down anywhere - she'd add a tiny bit of sour cream to the filling. "It makes the cheese taste more like cheese," she'd tell me over the phone when I called asking why mine didn't taste exactly like hers.
That little bit of sour cream cuts through all the sweetness and makes the cream cheese filling taste better and more interesting. Now I always add about a tablespoon to my filling, and Emma says it tastes like the ones from "that fancy place" we went to once. The other thing she taught me was to let the puff pastry thaw all the way before you work with it, but then chill it again for about 20 minutes after you cut it.
Top Tip
- Here's the one thing that matters most when making this cheese danish - don't put too much filling in each one. I know it's tempting to load them up because the filling tastes so good, but if you put too much, it'll leak out everywhere and make a mess in your oven. Emma found this out when he tried to help and made one that was basically a cheese volcano.
- The other big thing is making sure your cream cheese is really soft before you mix the filling. If it's cold and hard, you'll get lumps no matter how much you beat it. I take mine out about an hour before I want to bake, and sometimes I even stick it in the microwave for like 10 seconds to soften it up faster.
Why This Recipe Works
I've been making this for years, and here's why it's better than other cheese danish recipes. First off, using puff pastry instead of making your own dough saves tons of time and honestly tastes just as good. The trick is not messing with it too much - just thaw it, cut it, fill it, and bake it. Plus, the cream cheese filling is simple but that little bit of sour cream makes everything better.
Emma has eaten this so many times that he can tell if I forget the sour cream just by taking one bite. The other thing is the heat - if you bake it too hot, the pastry burns before the filling gets done. Keep it at 375°F and peek through the oven door. Most importantly, don't skip letting it sit before baking - that 15 minutes makes the pastry puff up way better.# Easy Cheese Danish Recipe: Homemade Bakery Style
FAQ
What is a cheese Danish made of?
A cheese danish has puff pastry wrapped around a cream cheese filling that's mixed with sugar, vanilla, and usually an egg. Some people add lemon juice for tang. The pastry gets brushed with egg wash to make it golden and shiny when it bakes.
Is a cheese Danish sweet?
Yeah, cheese danish is sweet but not crazy sweet like a donut. The cream cheese filling has sugar in it, but it's also tangy from the cheese. It's more like a sweet breakfast thing than a dessert. Goes great with coffee in the morning.
What is in a cheese Danish at Starbucks?
Starbucks cheese danish has puff pastry with cream cheese filling, but theirs is probably made with preservatives and junk to keep it fresh longer. Homemade ones taste way better because you use real cream cheese and fresh stuff instead of the processed garbage.
What cheese is Danish?
Danish cheese includes things like Havarti and Danish blue cheese, but cheese danish pastry doesn't use those. It uses cream cheese for the filling because it's sweet and creamy. Regular Danish cheeses would be too salty and gross in a pastry.# Easy Cheese Danish Recipe: Homemade Bakery Style
Time to Make Some Really Good Cheese Danish!
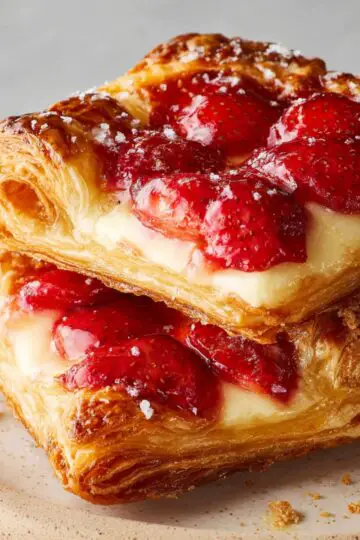
Now you know how to make cheese danish that actually tastes like it came from a bakery - from using my aunt's sour cream trick to getting the pastry just right. This flaky, creamy breakfast treat shows that sometimes the best recipes are the ones that get passed down through families.
Want more recipes that people love? Try our Best Knorr Spinach Dip Recipe that's great for parties and always goes first. Want something different for breakfast? Our Best Japanese Pancake Recipe makes fluffy pancakes that are like eating clouds. Or change things up with our Easy Sweet Potato Hash Recipe that makes regular breakfast way better!
Share your cheese danish pictures! We love seeing what you're baking!
Rate this recipe and join our baking family!
Related
Looking for other recipes like this? Try these:
Pairing
These are my favorite dishes to serve with Cheese Danish

Cheese Danishe
Equipment
- 2 Baking sheets (Line with parchment or silicone mats)
- 1 Rolling Pin (For lightly smoothing pastry)
- 1 Sharp knife or pizza cutter (To cut pastry squares)
- 1 Pastry brush (Egg wash)
- 2 Mixing bowls (medium & large) (Filling + egg wash)
- 1 Hand mixer or whisk (To beat filling smooth)
- 1 Cooling rack (Keeps bottoms crisp)
- 1 Measuring cups & spoons (Accuracy matters)
Ingredients
Pastry
- 2 sheets Puff pastry - Thawed but still cold
- 1 tablespoon Butter - Melted optional for extra sheen
- 1 large Egg - Beaten with 1 teaspoon water for egg wash
Filling
- 8 oz Cream cheese - Very soft
- ⅓ cup Granulated sugar - Adjust to taste
- 1 large Egg yolk - Binds and enriches
- 1 teaspoon Vanilla extract
- 1 tablespoon Lemon juice - Fresh for best flavor
- ⅛ teaspoon Salt - Pinch balances sweetness
- 1 tablespoon Sour cream - Secret tang optional but recommended
Glaze / Top
- ¾ cup Powdered sugar - Sifted
- 1–2 tablespoon Milk - To desired drizzling consistency
- ½ teaspoon Vanilla extract - Or swap almond extract
Instructions
- Beat cream cheese, then add sugar, yolk, vanilla, lemon smoothly
- Thaw, unfold, flour surface, lightly roll to even thickness
- Cut even squares, spoon filling, fold corners without overfilling
- Bake until puffed and golden, then cool briefly on rack
- Whisk glaze, drizzle on warm pastries, store airtight properly








Leave a Reply